Physical Address

304 North Cardinal St.
Dorchester Center, MA 02124

Pickled Okra

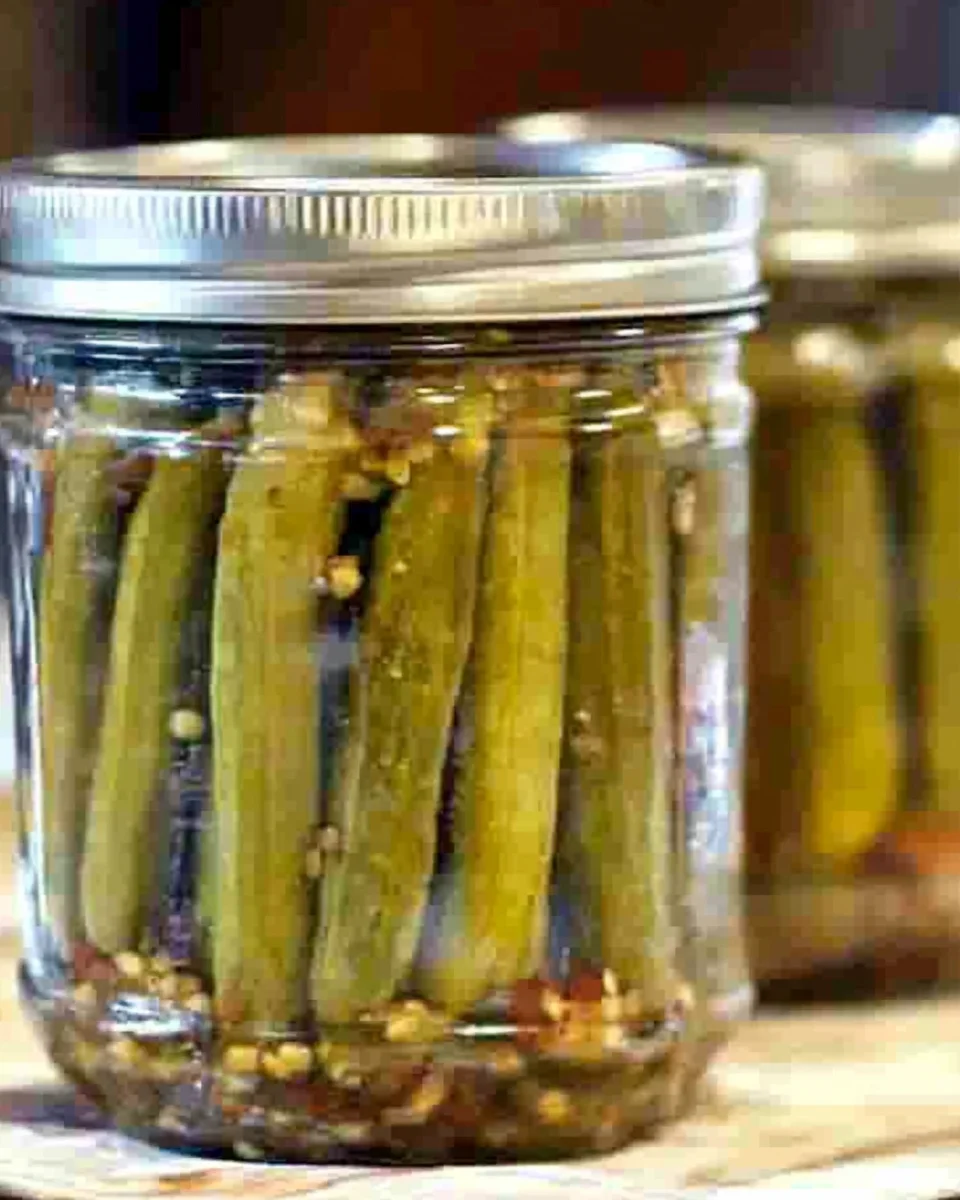
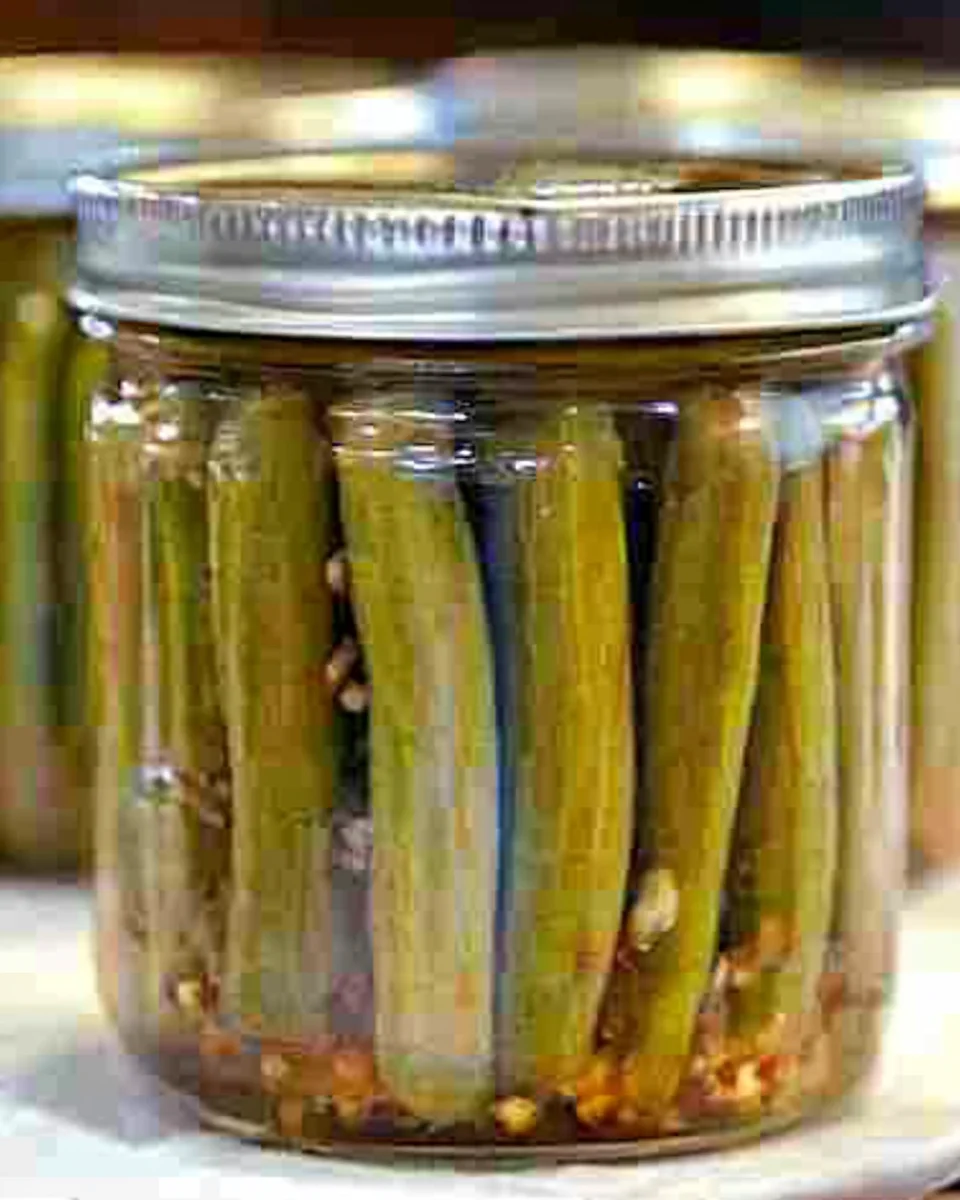
Learn how to make Pickled Okra at home. This delightful southern delicacy is perfect for picnics, barbecues, or simply as a snack. With its crunchy texture and tangy flavor, pickled okra adds a unique twist to your meals. Best of all, this recipe uses no preservatives, ensuring you savor the pure taste of fresh okra.

Why You’ll Love This Recipe

  • Easy to Make: This pickled okra recipe is straightforward and perfect for beginners.
  • Delicious Flavor: The combination of garlic, dill, and spices creates a mouthwatering taste.
  • Versatile Use: Add pickled okra to salads, serve as appetizers, or enjoy straight from the jar.
  • Long-Lasting: Once canned, these pickles can last for months in your pantry.
  • Homemade Goodness: Enjoy the satisfaction of making your own preserves with fresh ingredients.

Tools and Preparation

Before diving into making pickled okra, it’s essential to gather the right tools for a smooth canning process.

Essential Tools and Equipment

  • Canning jars
  • Lids and rings
  • Medium saucepan
  • Canning funnel
  • Jar lifter

Importance of Each Tool

  • Canning jars: These are crucial for safely storing your pickled okra and ensuring it remains fresh.
  • Canning funnel: Helps prevent spills when filling jars with brine or ingredients.
  • Jar lifter: Provides a secure grip for handling hot jars during the canning process.

Ingredients

Learn how to make Homemade Pickled Okra. From preparing the brine to packing jars, this step-by-step guide will have you canning our favorite southern veggie with no added preservatives.

For the Pickling Mixture

  • 2 ½ pounds okra (choose small tender pods)
  • 3 cloves garlic (peeled)
  • 3 teaspoons canning salt
  • 3 teaspoons dill seed
  • ¾ teaspoon whole black peppercorns
  • 2 cups white vinegar (5% acidity)
  • 2 cups water

For Garnish

  • 2 tablespoons fresh parsley, finely chopped
Pickled

How to Make Pickled Okra

Step 1: Prepare Your Jars

Start by preparing your canning jars, rings, and lids according to standard canning procedures. Ensure everything is sterilized to keep your pickles safe.

Step 2: Pack Your Jars

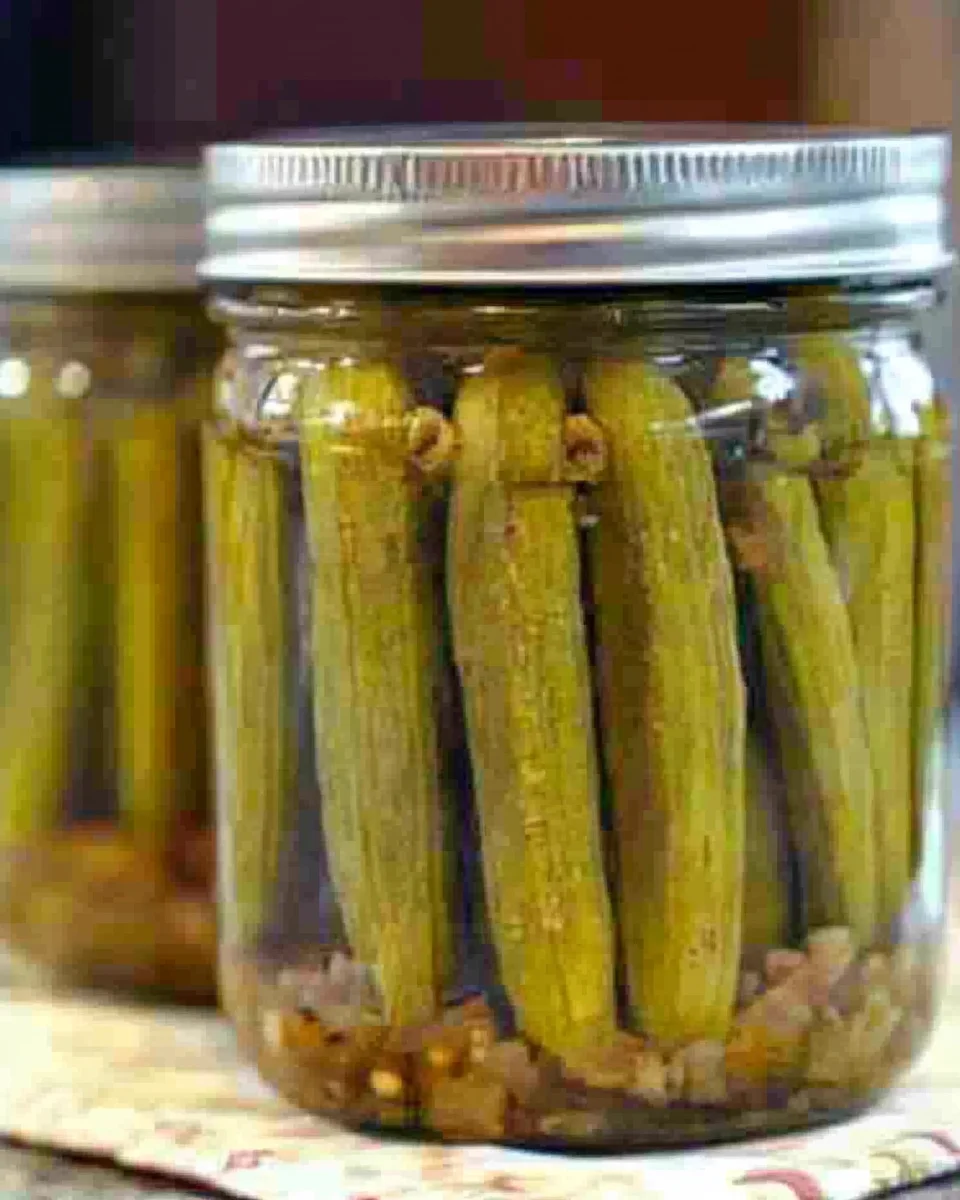
Into each sterile jar, pack as many pods of okra as possible with the tips pointing up. This helps maximize space without damaging the pods.

Step 3: Add Seasoning

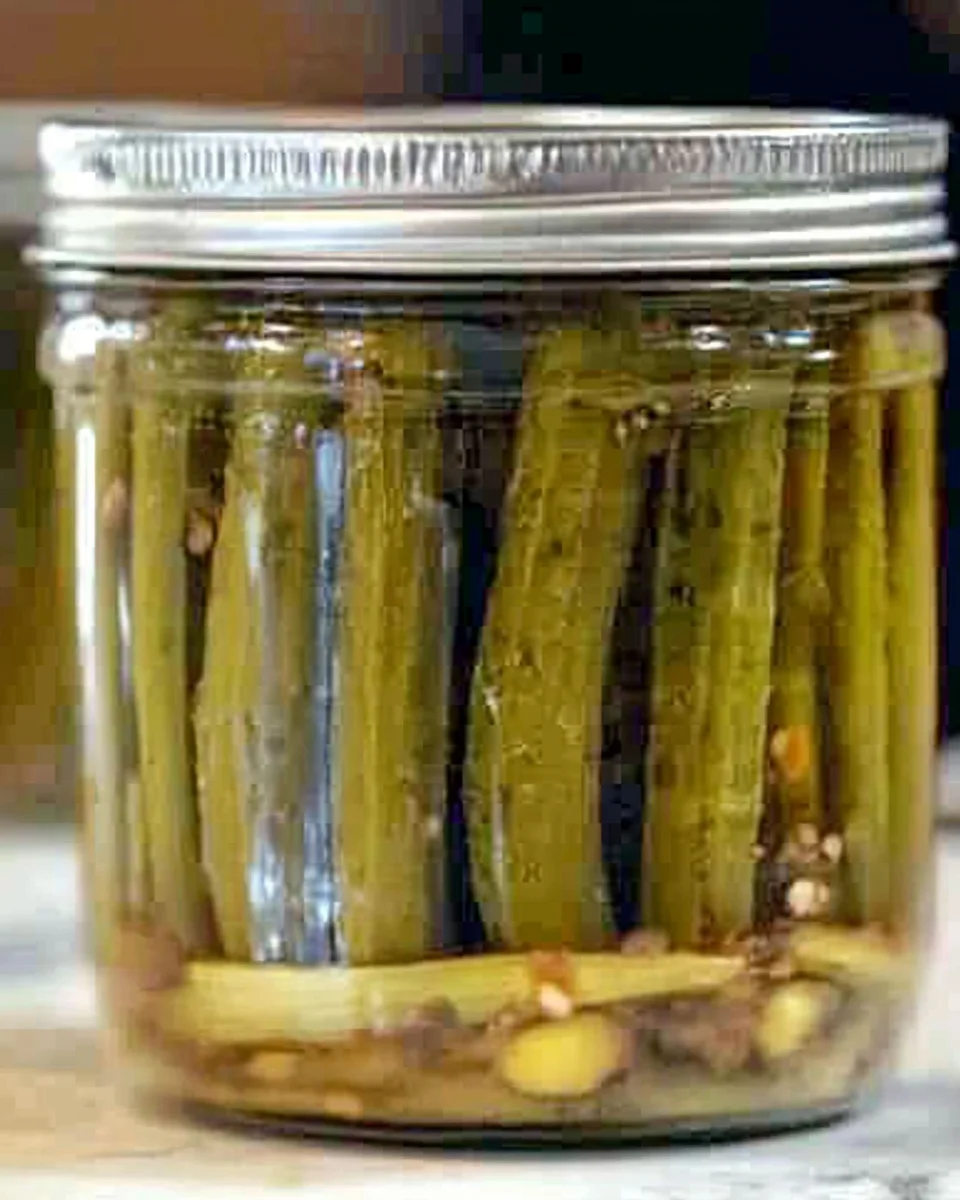
To each jar, add 1 whole garlic clove, 1 teaspoon of canning salt, 1 teaspoon of dill seed, and 1/4 teaspoon of whole peppercorns. These ingredients will give your pickled okra its distinctive flavor profile.

Step 4: Fill With Okra

Finish packing the jars tightly with additional okra but ensure you do not crush them. Tips should be pointed down for optimal packing.

Step 5: Prepare Brine

In a medium saucepan, bring the vinegar and water to a boil. Carefully fill each jar with this hot mixture until it reaches within 1/4 inch of the rim.

Step 6: Seal Your Jars

Place lids and rings on each jar securely. Process in a boiling water bath for:
1. 10 minutes if at altitudes up to 1,000 ft
2. 15 minutes for altitudes between 1,001 – 6,000 ft
3. 20 minutes if over 6,000 feet

Step 7: Cool Down

Once processed, remove jars from the canner using a jar lifter and allow them to cool completely on a clean towel or cooling rack.

Step 8: Let It Sit

For best flavor development, let your pickles sit for about 4-6 weeks before enjoying them!

How to Serve Pickled Okra

Pickled okra is a versatile treat that can complement various dishes. Its tangy flavor and crunchy texture make it an excellent addition to meals or snacks. Here are some creative ways to serve your homemade pickled okra.

As a Snack

  • Straight from the Jar: Enjoy pickled okra straight from the jar for a quick, healthy snack.
  • With Cheese: Pair with your favorite cheese for a delightful contrast of flavors.

In Salads

  • Mixed Green Salad: Toss pickled okra into a mixed green salad for added crunch and flavor.
  • Potato Salad: Incorporate chopped pickled okra into potato salad for a tangy twist.

As a Garnish

  • Cocktails: Use pickled okra as a garnish in cocktails like Bloody Marys for an extra kick.
  • Tacos: Add pickled okra on top of tacos for a unique, zesty flavor.

In Sandwiches

  • Sandwiches and Wraps: Layer slices of pickled okra in sandwiches or wraps for enhanced taste.
  • Charcuterie Boards: Include them on charcuterie boards alongside meats and cheeses.

How to Perfect Pickled Okra

Perfecting your pickled okra can elevate its flavor and texture. Here are some tips to ensure you create the best batch possible.

  • Bold Choice of Fresh Okra: Select small, firm pods, as they tend to be more tender and flavorful when pickled.
  • Bold Spices Matter: Experiment with different spices like red pepper flakes or mustard seeds to enhance the taste.
  • Bold Brine Balance: Ensure your brine has the right balance of vinegar and water; this affects both taste and preservation.
  • Bold Packing Technique: Pack the jars tightly but carefully to prevent crushing the okra, ensuring they remain crisp.
  • Bold Canning Process: Follow proper canning procedures to avoid contamination and preserve freshness effectively.
Pickled

Best Side Dishes for Pickled Okra

Pickled okra pairs wonderfully with many side dishes, making it an excellent addition to your meal. Here are some tasty options that complement its unique flavor.

  1. Cornbread: A classic Southern dish that provides sweetness and pairs well with tangy pickles.
  2. Fried Green Tomatoes: Crispy fried green tomatoes add texture and blend nicely with the sourness of pickled okra.
  3. Coleslaw: The creamy crunch of coleslaw contrasts nicely with the crunchy acidity of the okra.
  4. Baked Beans: Sweet baked beans offer a hearty complement to the tangy notes of pickled okra.
  5. Macaroni Salad: Creamy macaroni salad balances the tartness while adding more textures to your meal.
  6. Roasted Vegetables: Serve roasted vegetables alongside pickled okra for a colorful, healthful plate.

Common Mistakes to Avoid

Making pickled okra can be a fun and rewarding process, but there are some common pitfalls to watch out for.

  • Ignoring jar preparation: Failing to properly sterilize jars can lead to spoilage. Always clean and sterilize your jars, rings, and lids before use.

  • Overpacking the jars: While it’s tempting to cram in as much okra as possible, overpacking can lead to uneven pickling. Ensure that the okra is packed snugly but not crushed; tips should face both up and down in each jar.

  • Skipping the boiling water bath: Not processing the jars in a boiling water bath can result in unsafe preservation. Follow the recommended times based on your altitude to ensure safety.

  • Not waiting long enough: Rushing the pickling process might leave you with bland pickles. For optimal flavor, allow your pickled okra to sit for 4-6 weeks before enjoying.

  • Using the wrong vinegar: Using vinegars with different acidity levels may compromise the pickling process. Stick with white vinegar that has 5% acidity for best results.

Storage & Reheating Instructions

Refrigerator Storage

  • Duration: Store opened jars of pickled okra in the refrigerator for up to 3 months.
  • Containers: Use airtight glass or plastic containers to keep them fresh.

Freezing Pickled Okra

  • Duration: Pickled okra can be frozen for up to 6 months.
  • Containers: Use freezer-safe bags or containers, leaving space for expansion as they freeze.

Reheating Pickled Okra

  • Oven: Preheat your oven to 350°F (175°C). Place the pickled okra in an oven-safe dish and cover it with foil. Heat for about 10 minutes.

  • Microwave: Place pickled okra in a microwave-safe bowl, cover lightly, and heat on medium power for about 1-2 minutes until warm.

  • Stovetop: In a skillet over medium heat, add a small amount of water or oil. Heat the okra gently until warmed through, stirring occasionally.

Pickled

Frequently Asked Questions

How long does homemade pickled okra last?

Homemade pickled okra can last up to a year if stored properly in a cool, dark place before opening. Once opened, keep it refrigerated and consume within three months.

Can I use other spices in my pickled okra?

Absolutely! Feel free to experiment with other spices like red pepper flakes or mustard seeds to customize your flavor profile when making pickled okra.

What is the best way to serve pickled okra?

Pickled okra makes a delightful snack on its own or as an accompaniment to salads, sandwiches, or even cocktails like a Bloody Mary!

Is it safe to eat pickled okra after the expiration date?

While unopened jars may still be safe shortly after their expiration date if stored correctly, it’s always best to check for signs of spoilage before consuming any home-canned goods.

Final Thoughts

Homemade pickled okra is not only easy to make but also adds a unique tangy flavor that can elevate many dishes. This versatile recipe allows for customization based on personal taste preferences. Whether you enjoy them as snacks or add them to meals, give this recipe a try—you won’t regret it!

Print
clock clock iconcutlery cutlery iconflag flag iconfolder folder iconinstagram instagram iconpinterest pinterest iconfacebook facebook iconprint print iconsquares squares iconheart heart iconheart solid heart solid icon
Pickled Okra

Pickled Okra


  • Author: Elliana
  • Total Time: 50 minutes
  • Yield: Approximately 4 jars (serves about 4) 1x

Description

Pickled okra is a delightful southern treat that brings a crunchy, tangy twist to your meals. Perfect for picnics, barbecues, or as a satisfying snack, this homemade version is free from preservatives, allowing you to enjoy the fresh taste of okra. With simple ingredients and straightforward steps, even beginners can master this recipe. The unique combination of garlic, dill, and spices creates an unforgettable flavor that enhances salads, sandwiches, and cocktails alike. Plus, once canned, your pickled okra will last for months in your pantry. Get ready to tantalize your taste buds with this easy-to-follow guide!


Ingredients

Scale
  • 2 ½ pounds small tender okra
  • 3 cloves garlic
  • 3 teaspoons canning salt
  • 3 teaspoons dill seed
  • ¾ teaspoon whole black peppercorns
  • 2 cups white vinegar (5% acidity)
  • 2 cups water

Instructions

  1. Sterilize canning jars, lids, and rings.
  2. Pack okra pods vertically into jars with tips facing up.
  3. Add garlic cloves, canning salt, dill seed, and peppercorns to each jar.
  4. Fill jars with additional okra, tips facing down.
  5. Boil vinegar and water mixture; pour into jars until 1/4 inch from the rim.
  6. Seal jars with lids and process in boiling water bath for recommended time based on altitude.
  7. Cool jars completely before storing.
  • Prep Time: 30 minutes
  • Cook Time: 20 minutes
  • Category: Snack/Preserve
  • Method: Canning
  • Cuisine: Southern

Nutrition

  • Serving Size: 1 jar (180g)
  • Calories: 60
  • Sugar: 2g
  • Sodium: 840mg
  • Fat: 0g
  • Saturated Fat: 0g
  • Unsaturated Fat: 0g
  • Trans Fat: 0g
  • Carbohydrates: 14g
  • Fiber: 5g
  • Protein: 3g
  • Cholesterol: 0mg

Keywords: Choose small, firm okra pods for the best flavor. Experiment with spices like red pepper flakes for extra heat. For maximum flavor development, let pickles sit for 4-6 weeks before consuming.

Leave a Reply

Your email address will not be published. Required fields are marked *

Recipe rating