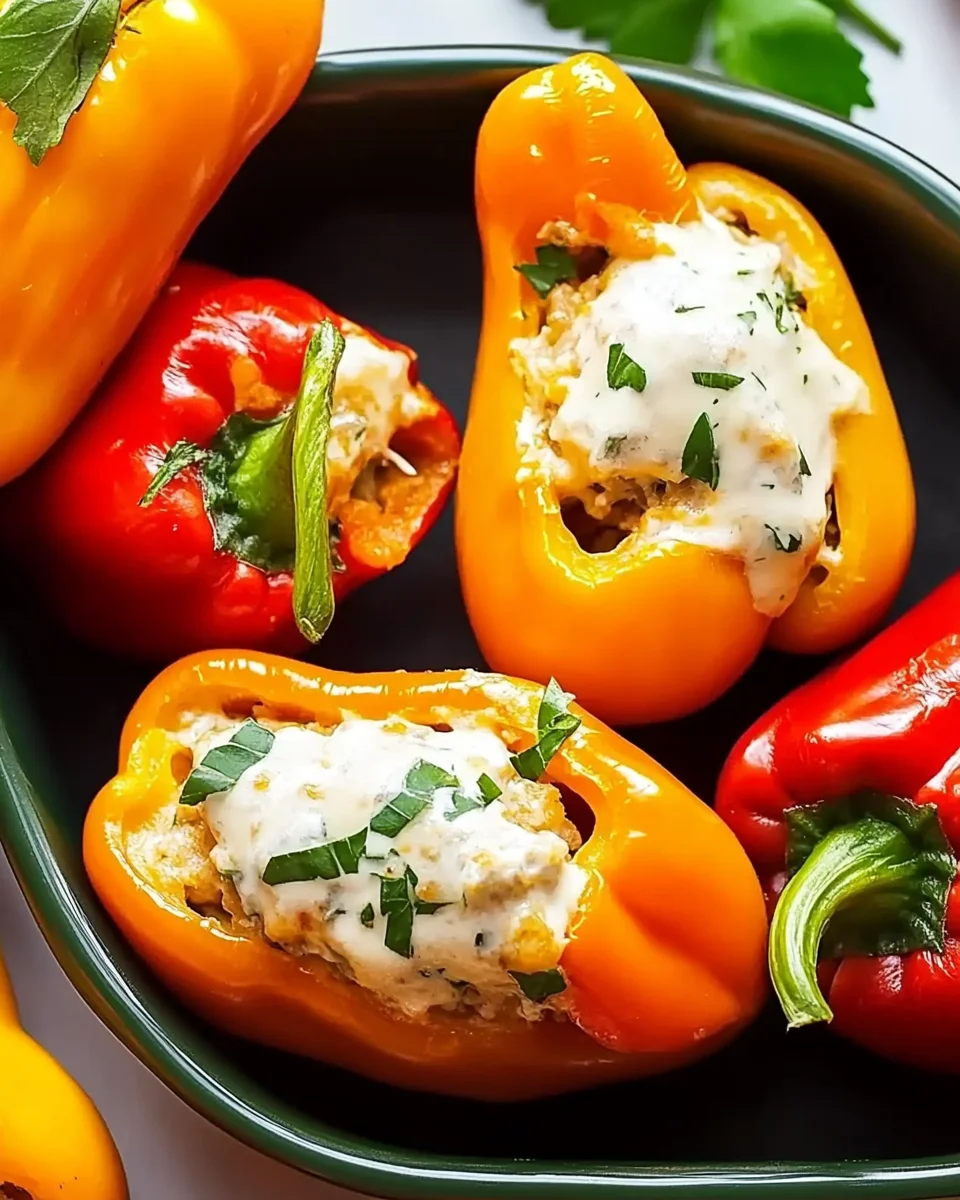
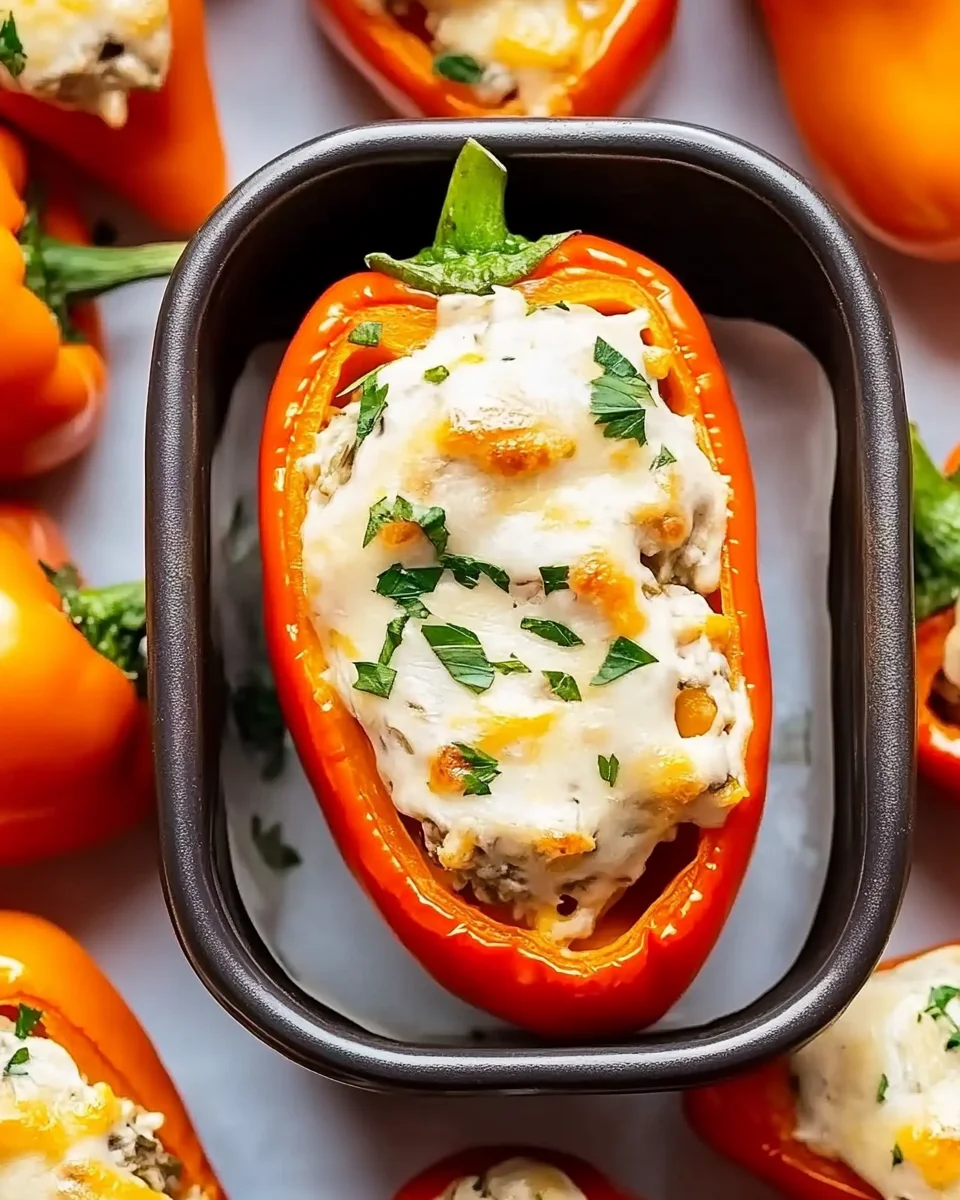
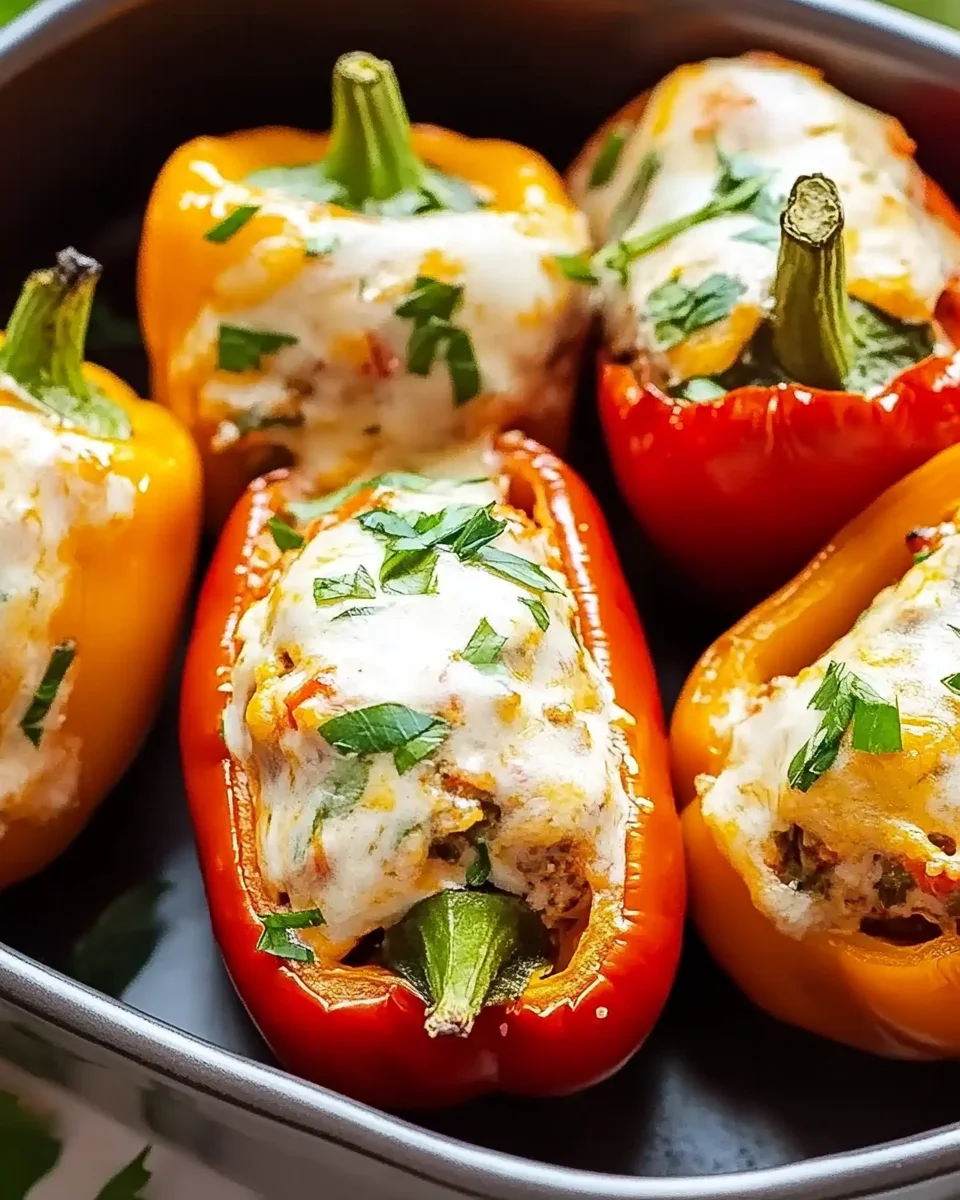
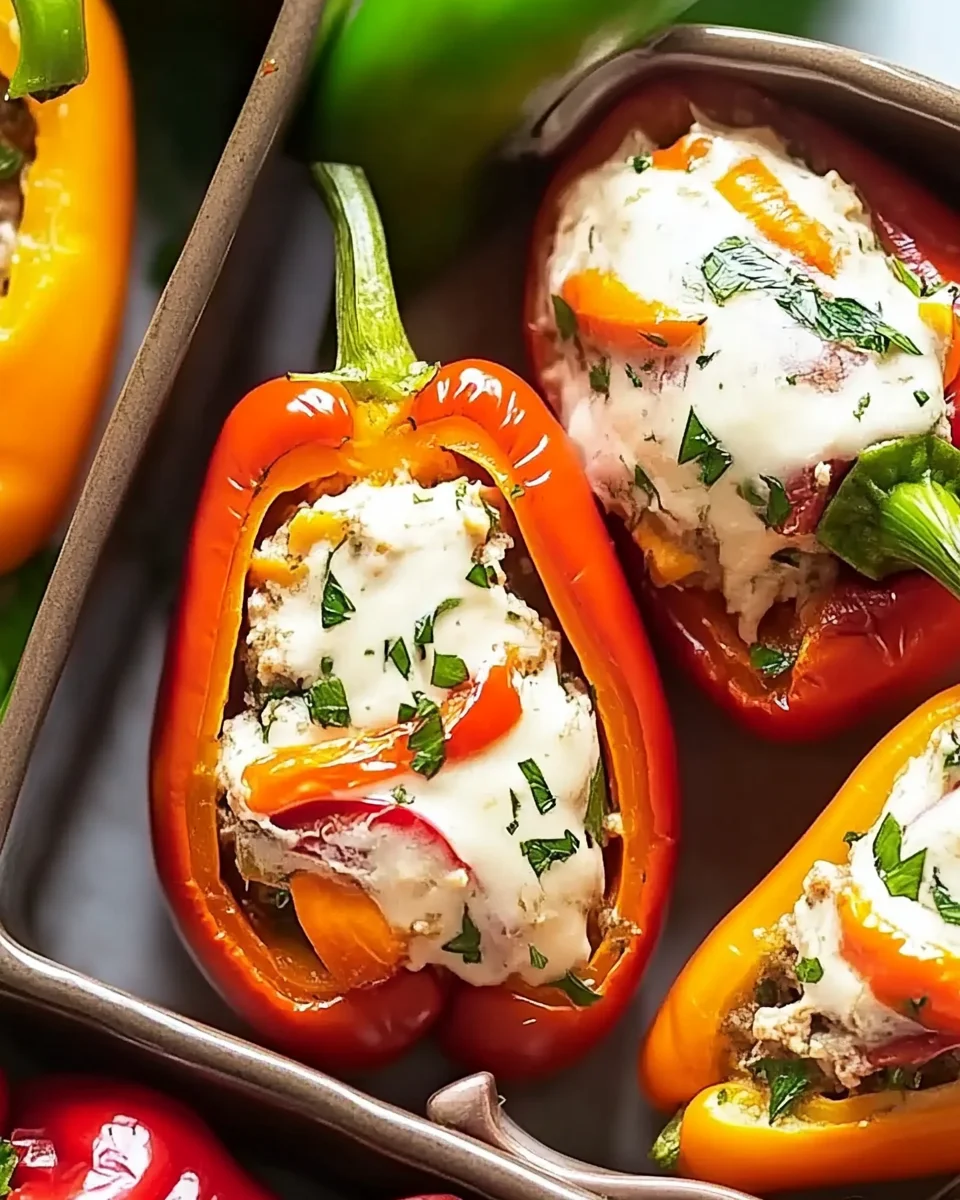
Mini sweet peppers make a delightful appetizer, and these Stuffed Peppers are no exception. Filled with a creamy blend of cream cheese, cheddar, and chives, they are baked to perfection, resulting in a warm and melty treat. Perfect for parties, game day, or casual gatherings, these stuffed peppers are sure to impress your guests with their vibrant colors and rich flavors.
Why You’ll Love This Recipe
Quick and Easy: With just 10 minutes of prep time, you can whip these up in no time.
Crowd-Pleaser: These stuffed peppers are delicious and appealing, making them an instant hit at any gathering.
Versatile Filling: The creamy cheese mixture can be customized by adding other herbs or spices to suit your taste.
Gluten-Free Delight: Enjoy these appetizers without worry as they fit perfectly into gluten-free diets.
Make-Ahead Option: Prepare the filling ahead of time and stuff the peppers right before baking for convenience.
Tools and Preparation
To create these tasty stuffed peppers, you’ll need a few essential tools that will make the process smooth and efficient.
Essential Tools and Equipment
Baking sheets
Parchment paper
Mixing bowl
Spatula
Importance of Each Tool
Baking sheets: Provides ample space for evenly baking the stuffed peppers without overcrowding.
Parchment paper: Ensures easy cleanup and prevents sticking, allowing for perfect removal of the stuffed peppers once baked.
Ingredients
Mini sweet peppers filled with a creamy mixture of cream cheese, cheddar, and chives, baked until hot and melty.
For the Stuffing
1 pound mini sweet peppers, halved and seeded
8 ounces cream cheese, softened
¾ cup cheddar cheese, grated
½ teaspoon salt
½ teaspoon black pepper
For Garnish
2 tablespoons chives, plus more for garnish
How to Make Stuffed Peppers
Step 1: Preheat the Oven
Preheat your oven to 425°F. This step is crucial for ensuring even cooking.
Step 2: Prepare Baking Sheets
Line two baking sheets with parchment paper to prevent sticking during baking.
Step 3: Mix the Filling
In a mixing bowl:
1. Combine cream cheese, cheddar cheese, chives, salt, and black pepper.
2. Mix until well combined for a smooth consistency.
Step 4: Fill the Peppers
Take each halved mini sweet pepper.
Use a spatula to fill each pepper half with the cheese mixture. Ensure even distribution among all halves.
Step 5: Bake the Peppers
Place the stuffed peppers on the prepared baking sheets:
1. Bake in the preheated oven for about 15 minutes.
2. Look for melted filling as an indicator that they are done.
Step 6: Garnish and Serve
Once baked:
1. Transfer your stuffed peppers to a serving platter.
2. Garnish with extra chives for added freshness.
3. Serve warm and enjoy!
How to Serve Stuffed Peppers
Stuffed peppers make for a delightful and versatile dish. They can be served in various ways to suit any occasion, whether it’s a casual family dinner or a festive gathering.
As Appetizers
Mini servings: Cut the stuffed peppers into smaller pieces to create bite-sized appetizers for your guests.
Dipping sauces: Serve with a side of ranch or spicy aioli for an extra burst of flavor.
As Main Course
Accompanied by rice: Serve the stuffed peppers on a bed of fluffy rice for a hearty meal.
With salad: Pair with a fresh garden salad to add a refreshing element.
At Parties
Buffet style: Arrange the stuffed peppers on a large platter for easy self-service at parties.
Themed servings: Consider adding themed decorations or garnishes that match the occasion, such as holiday colors or seasonal herbs.
How to Perfect Stuffed Peppers
Creating the perfect stuffed peppers requires attention to detail and technique. Here are some tips to ensure your dish is always a hit.
Bold filling: Use flavored cream cheese or add spices to elevate the taste.
Fresh ingredients: Choose ripe mini sweet peppers for better sweetness and texture.
Even baking: Ensure that the stuffed peppers are evenly placed on the baking sheet for consistent cooking.
Taste before baking: Always taste your filling mixture before stuffing, adjusting seasoning as needed.
Garnish wisely: Adding fresh herbs right before serving enhances both presentation and flavor.
Best Side Dishes for Stuffed Peppers
Stuffed peppers pair well with a variety of side dishes. Here are some great options to complement your meal:
Garlic Bread: A warm, buttery side that offers a lovely crunch and pairs perfectly with creamy flavors.
Coleslaw: A tangy and crunchy coleslaw adds freshness and balance to rich stuffed peppers.
Quinoa Salad: Light and nutritious, this salad can provide additional protein and fiber alongside your meal.
Roasted Vegetables: Seasonal roasted veggies add color and nutrition while enhancing the overall presentation.
Mashed Potatoes: Creamy mashed potatoes can be an indulgent pairing that makes for a comforting meal.
Corn on the Cob: Sweet corn offers a delightful contrast in flavors and textures when served alongside stuffed peppers.
Common Mistakes to Avoid
When making stuffed peppers, it’s easy to make a few common errors. Here are some mistakes to avoid for the best results.
Using the wrong type of peppers: Choosing large bell peppers instead of mini sweet peppers can lead to uneven cooking and less flavor. Stick with mini sweet peppers for a perfect bite-sized treat.
Skipping the seasoning: Neglecting to season your cheese mixture can result in bland stuffed peppers. Always add salt and pepper to enhance the flavors.
Overstuffing the peppers: Filling the peppers too much can cause them to burst during baking. Fill them gently, leaving a little room at the top for expansion.
Not preheating the oven: Baking in an unheated oven can lead to uneven cooking and a longer bake time. Always preheat your oven before placing the stuffed peppers inside.
Serving without garnishing: Forgetting to garnish your stuffed peppers can make them look less appealing. A sprinkle of fresh chives adds color and enhances presentation.
Refrigerator Storage
Stuffed peppers can be stored in the refrigerator for up to 3 days.
Place them in an airtight container to maintain freshness.
Freezing Stuffed Peppers
You can freeze stuffed peppers for up to 3 months.
Wrap each pepper tightly in plastic wrap or aluminum foil before placing them in a freezer-safe container.
Reheating Stuffed Peppers
Oven: Preheat your oven to 350°F and bake for about 15-20 minutes until heated through.
Microwave: Place on a microwave-safe plate and heat for 1-2 minutes, checking occasionally.
Stovetop: Heat in a skillet over medium heat, turning occasionally until warmed through.
Frequently Asked Questions
How long do stuffed peppers last?
Stuffed peppers last up to 3 days in the refrigerator and about 3 months if frozen properly.
Can I use different cheeses for my stuffed peppers?
Yes, you can customize the cheese according to your preference. Try mozzarella or feta for different flavors!
Are stuffed peppers gluten-free?
Yes, this recipe is naturally gluten-free, making it a great choice for those with dietary restrictions.
What other ingredients can I add to my stuffed peppers?
Feel free to add cooked ground meat, beans, or vegetables for added nutrition and flavor variations.
How do I know when my stuffed peppers are done?
They are done when the filling is hot, and the pepper skin is tender. Baking usually takes around 15 minutes at 425°F.
Final Thoughts
Stuffed peppers are not only delicious but also versatile. This easy appetizer allows you to customize ingredients based on your taste preferences. Whether you’re serving them at a party or enjoying them as a snack, these creamy, cheesy bites will surely impress everyone. Try experimenting with different fillings or toppings!
Indulge in the vibrant flavors of stuffed mini sweet peppers that are perfect for any occasion! These delightful appetizers feature a creamy filling of cream cheese, cheddar, and chives, baked until warm and melty. Ideal for parties, game days, or casual get-togethers, they not only look stunning but also offer a rich taste experience that is sure to impress your guests. With just 10 minutes of prep time, this quick and easy recipe allows you to whip up a crowd-pleaser that can be customized to suit your palate. Enjoy these gluten-free bites as is or pair them with your favorite dipping sauces for an extra flavor boost.
Ingredients
Scale
1 pound mini sweet peppers
8 ounces cream cheese
¾ cup cheddar cheese
½ teaspoon salt
½ teaspoon black pepper
2 tablespoons chives
Instructions
Preheat the oven to 425°F.
Line two baking sheets with parchment paper.
In a mixing bowl, combine cream cheese, cheddar cheese, chives, salt, and black pepper until smooth.
Fill each halved mini sweet pepper with the cheese mixture using a spatula.
Arrange the filled peppers on the baking sheets and bake for about 15 minutes until the filling is melted.
Garnish with extra chives before serving warm.
Prep Time:10 minutes
Cook Time:15 minutes
Category:Appetizer
Method:Baking
Cuisine:American
Nutrition
Serving Size:2 stuffed peppers (60g)
Calories:90
Sugar:1g
Sodium:210mg
Fat:7g
Saturated Fat:4g
Unsaturated Fat:2g
Trans Fat:0g
Carbohydrates:4g
Fiber:1g
Protein:3g
Cholesterol:20mg
Keywords: Experiment with different herbs or spices in the filling for a unique twist. Serve with ranch or spicy aioli for added flavor. Prepare the cheese mixture ahead of time to save on prep work during gatherings.